How To Run A cURL mTLS Example With Client Certificates

Mutual TLS (mTLS) adds a layer of security that standard TLS doesn't cover: it forces both the client and the server to prove their identity with certificates. If you've been searching for a cURL mTLS example to test your client certificate setup from the command line, you're in the right place. Whether you're debugging a connection to a healthcare API, a payment gateway, or any zero-trust endpoint, cURL is the fastest way to verify that your certificates work before writing a single line of application code.
At SoFaaS, we deal with mTLS constantly. Our platform handles secure EHR integrations using the SMART on FHIR standard, and mutual TLS is a core part of how we protect data in transit between healthcare applications and electronic health records. We've configured enough client certificates and trust chains to know exactly where things break, and how to fix them.
This guide walks you through everything you need to run a successful mTLS request with cURL. You'll learn how to specify your client certificate and private key, pass a CA bundle, troubleshoot common errors, and understand what's actually happening at each step. By the end, you'll have working commands you can adapt to your own environment, no guesswork required.
What you need for a curl mTLS request
Before you run any curl mTLS example, you need to gather three specific files. Without all three, cURL will either silently fall back to one-way TLS or throw a handshake error that gives you almost no useful context. Taking five minutes to confirm you have the right files in the right formats before you run your first command will save you significant debugging time.
Your private key file must stay off version control and should never leave your local environment or secure secrets manager.
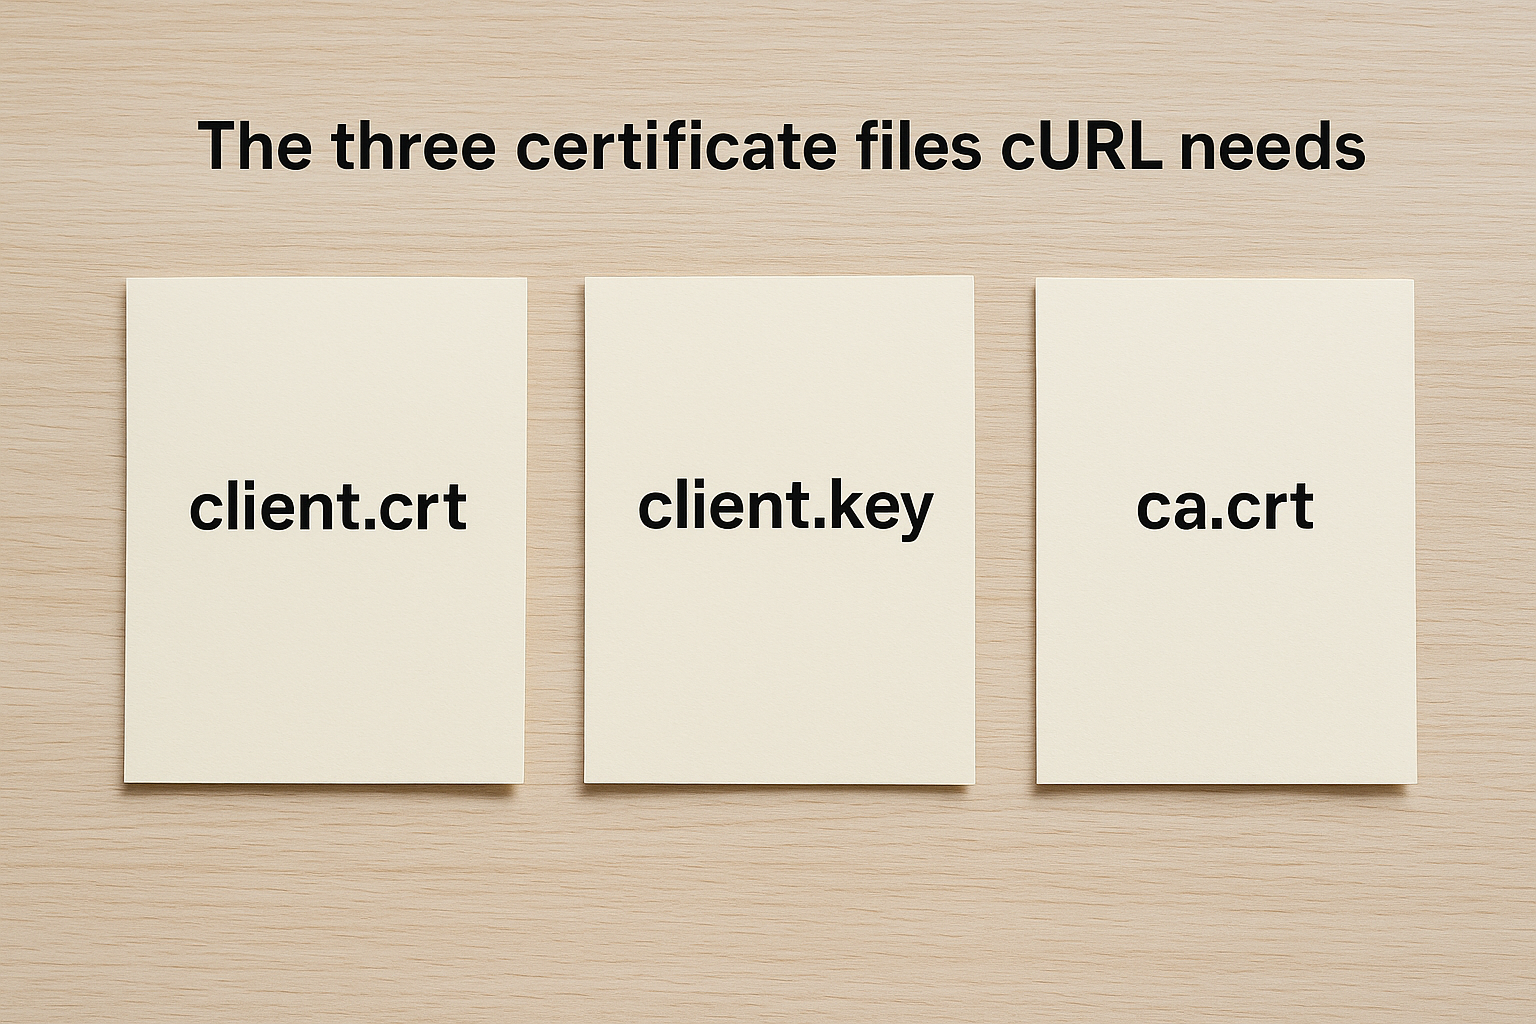
The three certificate files cURL needs
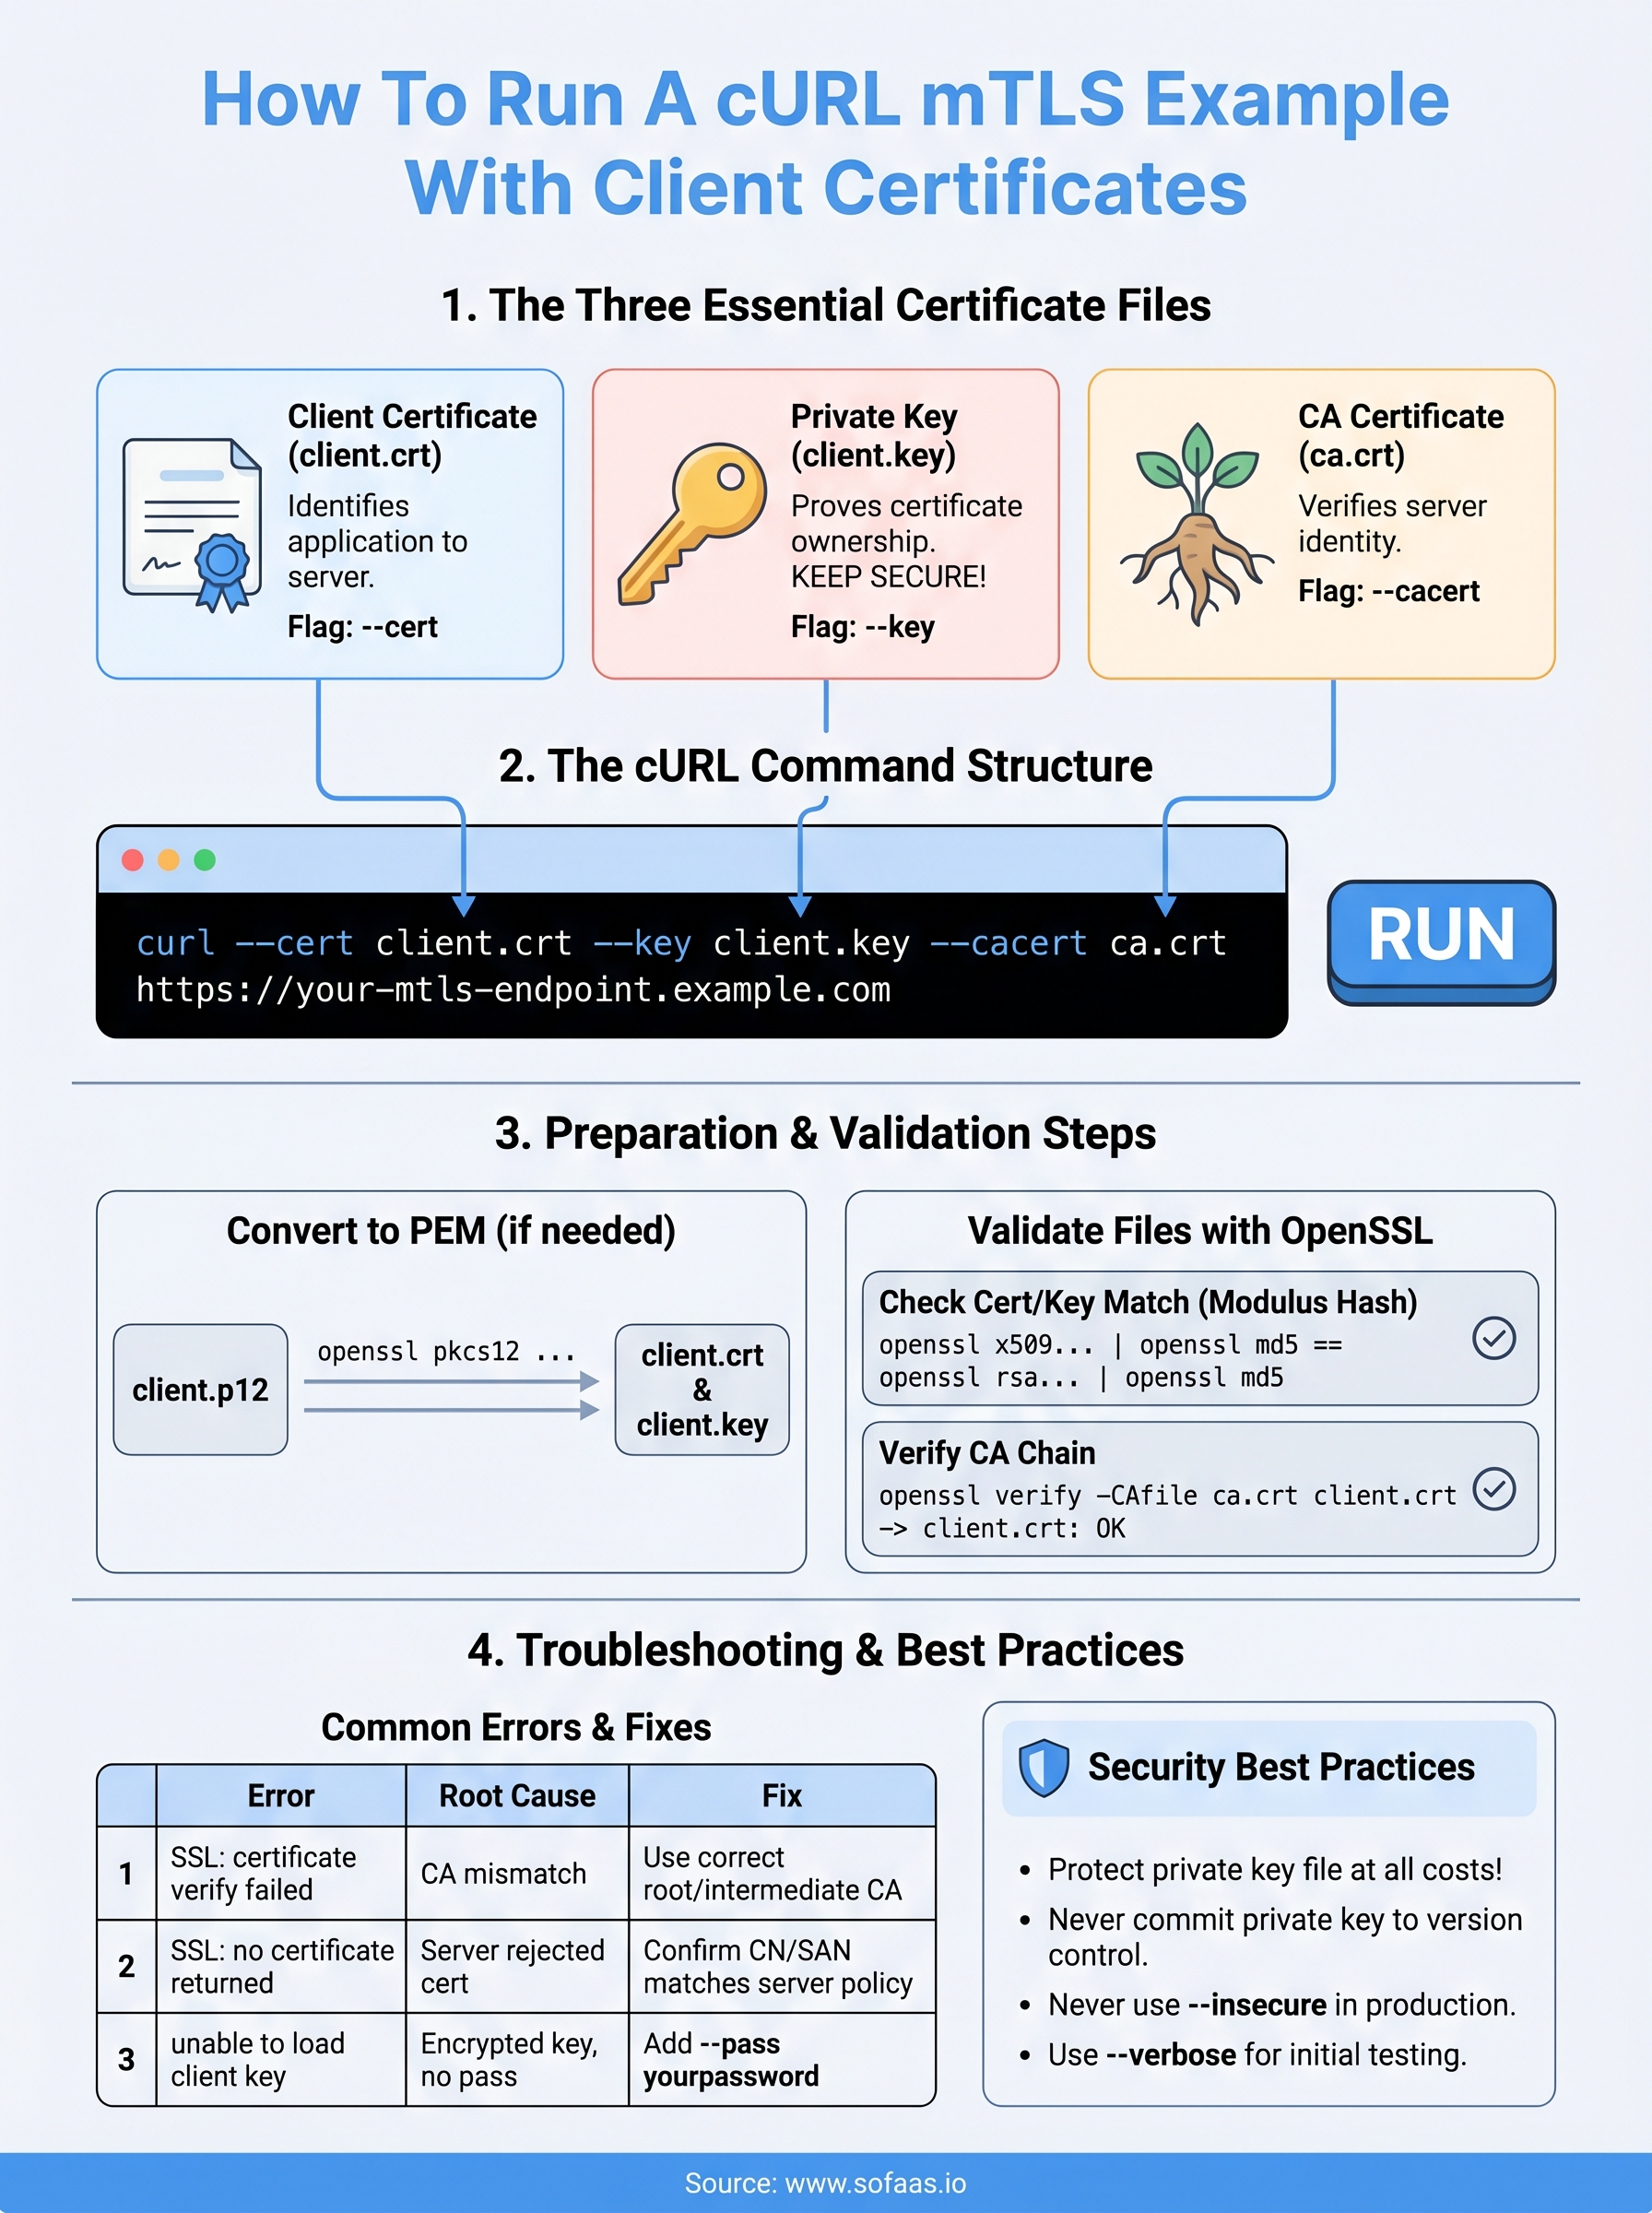
Each mTLS handshake depends on three distinct files working together. The client certificate identifies your application to the server. The private key proves you hold that certificate. The CA certificate (or CA bundle) lets cURL verify the server's identity on your side of the connection. If any one of these is missing, expired, or mismatched with the others, the TLS handshake fails before a single byte of payload is exchanged.
| File | Typical filename | cURL flag |
|---|---|---|
| Client certificate | client.crt or client.pem |
--cert |
| Private key | client.key |
--key |
| CA certificate | ca.crt or ca-bundle.pem |
--cacert |
The cURL flags that wire it together
cURL exposes these files through three straightforward command-line flags you'll use on every mTLS call. You pair --cert, --key, and --cacert with the file paths, and cURL handles the full mutual handshake automatically. You can also combine the client certificate and private key into a single PEM file and point --cert at that combined file, which many teams prefer in CI/CD pipelines.
curl --cert client.crt \
     --key client.key \
     --cacert ca.crt \
     https://your-mtls-endpoint.example.com
This three-flag pattern is the core structure every mTLS request builds on, and the steps below show you exactly how to prepare and validate each file before you call a live endpoint.
Step 1. Prepare client certs and the CA for curl
Before you run any curl mTLS example against a real endpoint, your certificate files need to be in PEM format and correctly structured. Many issuers deliver certificates in DER or PKCS#12 format, which cURL cannot read directly. Catching a format mismatch now prevents a confusing handshake error later.
Convert certificates to PEM if needed
If your issuer gave you a .p12 or .pfx bundle, you can extract the client certificate and private key with OpenSSL using these two commands:
# Extract client certificate from PKCS#12
openssl pkcs12 -in client.p12 -clcerts -nokeys -out client.crt

# Extract private key from PKCS#12
openssl pkcs12 -in client.p12 -nocerts -nodes -out client.key
Run openssl x509 -in client.crt -text -noout to confirm the certificate parsed correctly and that the expiry date and Subject fields match what your server expects.
Always verify the Common Name or Subject Alternative Name in your client certificate matches what the server's access policy requires before making any live call.
For DER-encoded files (.cer or .der), use openssl x509 -inform DER -in client.cer -out client.crt. Your CA certificate follows the same conversion process: transform it to PEM format and point --cacert at the resulting file.
Step 2. Validate your files before you call the API
Running a curl mTLS example against a live API before validating your files is the fastest way to produce cryptic handshake errors with no useful context. Three quick OpenSSL checks confirm that your client certificate, private key, and CA certificate are consistent with each other. Catching mismatches at this stage takes two minutes and prevents a lengthy debugging session against a live connection.
Check that your certificate and key match
The most common mTLS setup failure is a mismatched certificate-key pair, often caused by certificate renewal without updating the corresponding private key. OpenSSL lets you confirm a match by comparing the modulus hash of both files:
# These two outputs must be identical
openssl x509 -noout -modulus -in client.crt | openssl md5
openssl rsa -noout -modulus -in client.key | openssl md5
If the hashes differ, your certificate and private key were not generated together, and the mTLS handshake will fail at the TLS layer before sending any request data.
Verify the CA chain covers your server certificate
Your CA file must chain up to the certificate authority that signed the server's certificate. Run this command to confirm the trust path resolves without errors:
openssl verify -CAfile ca.crt client.crt
A clean response prints client.crt: OK. Any other output signals a broken trust chain, and you need to obtain the correct intermediate or root CA certificate from your issuer before making any live calls.
Step 3. Run a working curl mTLS command and variants
With your files validated, you're ready to send a real request. The command below is the complete curl mTLS example you can copy directly and adapt to your endpoint. Every flag plays a specific role, so keep all three present even when testing against a staging environment that you trust.
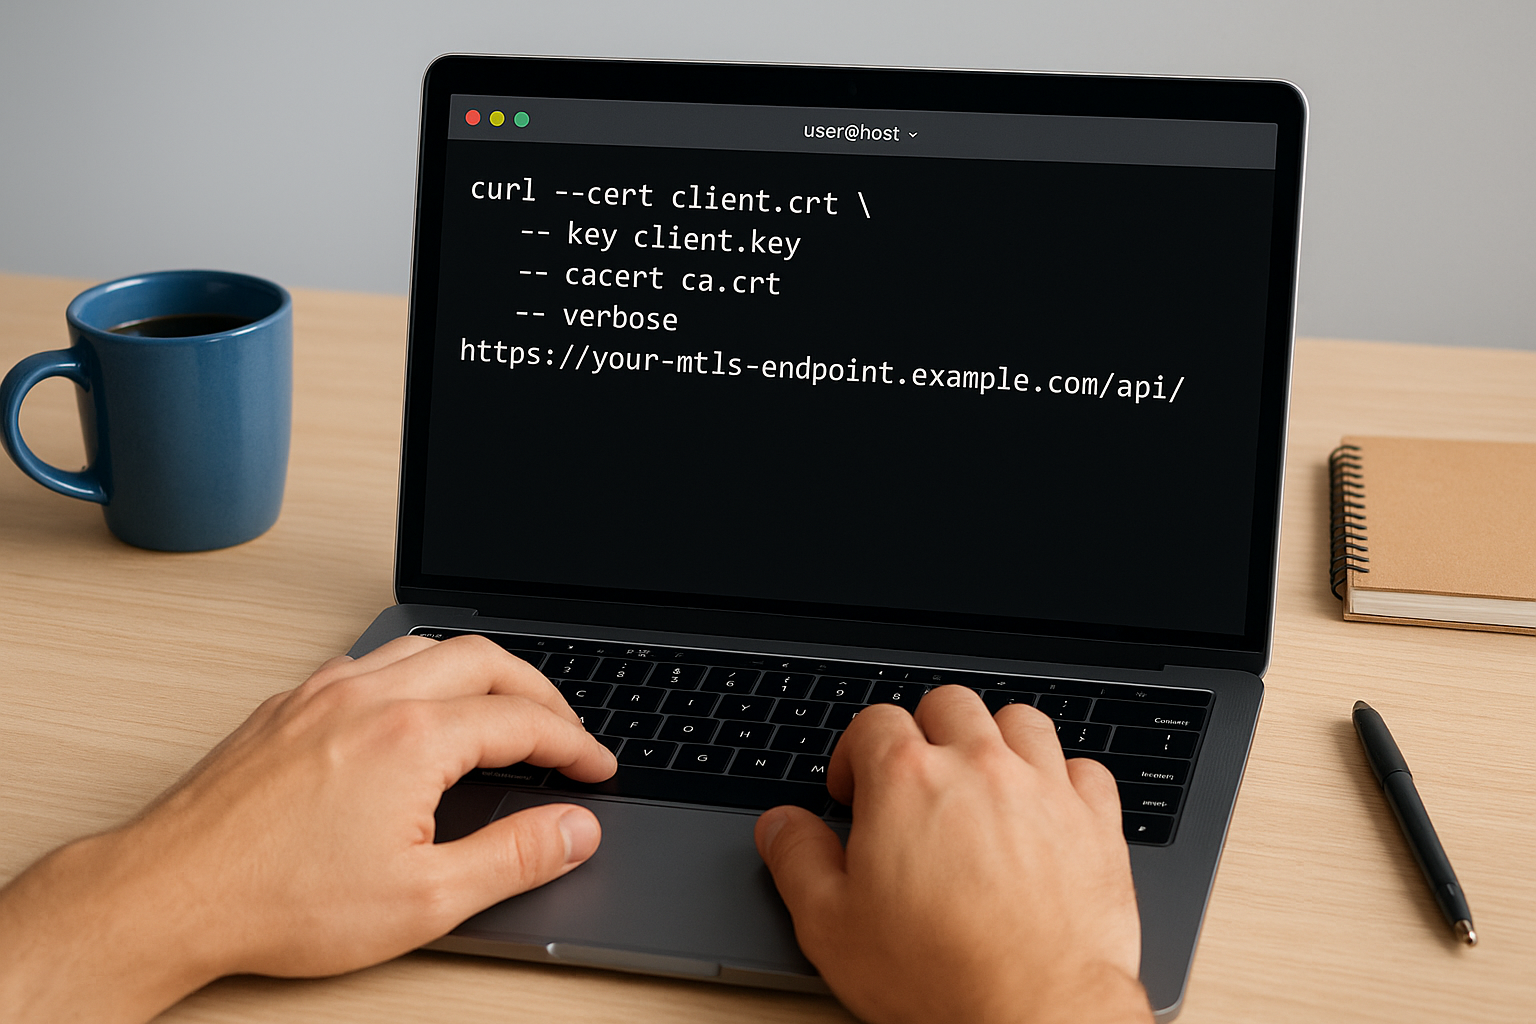
curl --cert client.crt \
     --key client.key \
     --cacert ca.crt \
     --verbose \
     https://your-mtls-endpoint.example.com/api/resource
Use
--verboseduring every initial test run so you can see exactly which TLS version negotiated and confirm the server accepted your client certificate before sending payload data.
Variants for common real-world scenarios
Your setup may not match the base case exactly. The table below covers the most frequent variations you'll encounter when integrating with secured healthcare or enterprise APIs.
| Scenario | Modified command |
|---|---|
| Combined cert + key PEM file | --cert combined.pem (omit --key) |
| Password-protected private key | --key client.key --pass yourpassword |
| Skip server cert verification (testing only) | Replace --cacert with --insecure |
| POST with JSON body | Add -X POST -H "Content-Type: application/json" -d @payload.json |
Each variant still relies on the same three-file trust model. Only swap --insecure for --cacert in isolated test environments, never against production endpoints handling sensitive data.
Step 4. Troubleshoot mTLS errors and apply safe practices
Even a well-prepared curl mTLS example can fail when the server rejects your connection. Most mTLS errors surface during the TLS handshake, and --verbose output will show you exactly where the negotiation breaks down. Read the error message carefully before changing files, since each failure type points to a specific root cause you can fix in isolation.
Common handshake errors and what they mean
The table below maps the most frequent mTLS error messages to the certificate issue behind them, so you spend less time guessing.
| Error message | Root cause | Fix |
|---|---|---|
SSL: certificate verify failed |
CA file does not chain to server cert | Replace --cacert with the correct root or intermediate CA |
SSL: no certificate returned |
Server rejected your client cert | Confirm your cert's CN/SAN matches the server's access policy |
unable to load client key |
Private key is encrypted without --pass |
Add --pass yourpassword to the command |
certificate has expired |
Client cert past its validity date | Request a renewed certificate from your issuer |
Never use
--insecureas a permanent fix; it disables server verification and exposes your requests to interception.
Protect your private key at every stage
Your private key file should only exist in your local environment or a dedicated secrets manager. Avoid echoing it to terminal output, storing it in plain-text config files, or committing it to any version control repository, even a private one.
Next steps
You now have everything you need to run a working curl mTLS example: validated certificate files, the correct flags, common variants, and a clear map of errors most likely to surface during testing. The next move is to apply this pattern against your actual API endpoint, confirm the handshake completes cleanly, and replicate the same certificate management approach in your application's authentication layer.
If your work involves healthcare API integrations that require both mTLS and SMART on FHIR compliance, the infrastructure complexity grows quickly. Managing certificates, OAuth flows, and EHR-specific authorization rules across multiple health systems is a significant engineering investment. SoFaaS handles that complexity for you, so your team can ship applications instead of maintaining integration infrastructure. Connect your healthcare app to EHRs without the infrastructure overhead and get to production in days, not months.
The Future of Patient Logistics
Exploring the future of all things related to patient logistics, technology and how AI is going to re-shape the way we deliver care.
Thank you! Your submission has been received!
Oops! Something went wrong while submitting the form.